Installing a garage door opener is one of those projects that looks intimidating in the box but is very doable for most homeowners with a free afternoon, a ladder, and a helper. This guide walks through the process from unboxing to the first test run, covering the parts that trip people up most often.
What You Will Need
Before you start, make sure you have the opener kit itself (usually a chain, belt, or screw-drive unit), a sturdy stepladder, a drill, a socket set, a tape measure, and a helper to hold the rail steady while you work overhead. Most kits include the motor unit, the rail sections, a trolley, a header bracket, a carriage, two remotes, a wall console, and a safety sensor pair.
Step 1: Assemble the Rail
Lay the rail sections out on the garage floor and connect them according to the manufacturer’s diagram. Slide the trolley and chain or belt through the rail before fully tightening the sections, since it is much harder to thread them through afterward. Attach the rail to the motor housing.
Step 2: Mount the Header Bracket
Find the center point above the garage door opening, usually on the header wall or the framing above the door track. Mark it, then secure the header bracket with lag screws into solid framing, not just drywall.
Step 3: Attach the Rail and Lift the Assembly
With a helper, lift the rail-motor assembly and connect the rail end to the header bracket. Prop the motor end on a stepladder temporarily or ask your helper to hold it while you mark the mounting hole positions on the ceiling joists.
Step 4: Install the Mounting Brackets
Attach the angle iron or mounting brackets from the motor unit to the ceiling joists. Never mount only to drywall or sheetrock; you need to hit solid framing. The rail should be level and positioned a few inches above the highest point the door reaches when open.
Step 5: Connect the Door Arm
Attach the curved door arm to the top center of the garage door, then connect it to the trolley on the rail. This is what physically pulls the door open and closed.
Step 6: Install the Safety Sensors
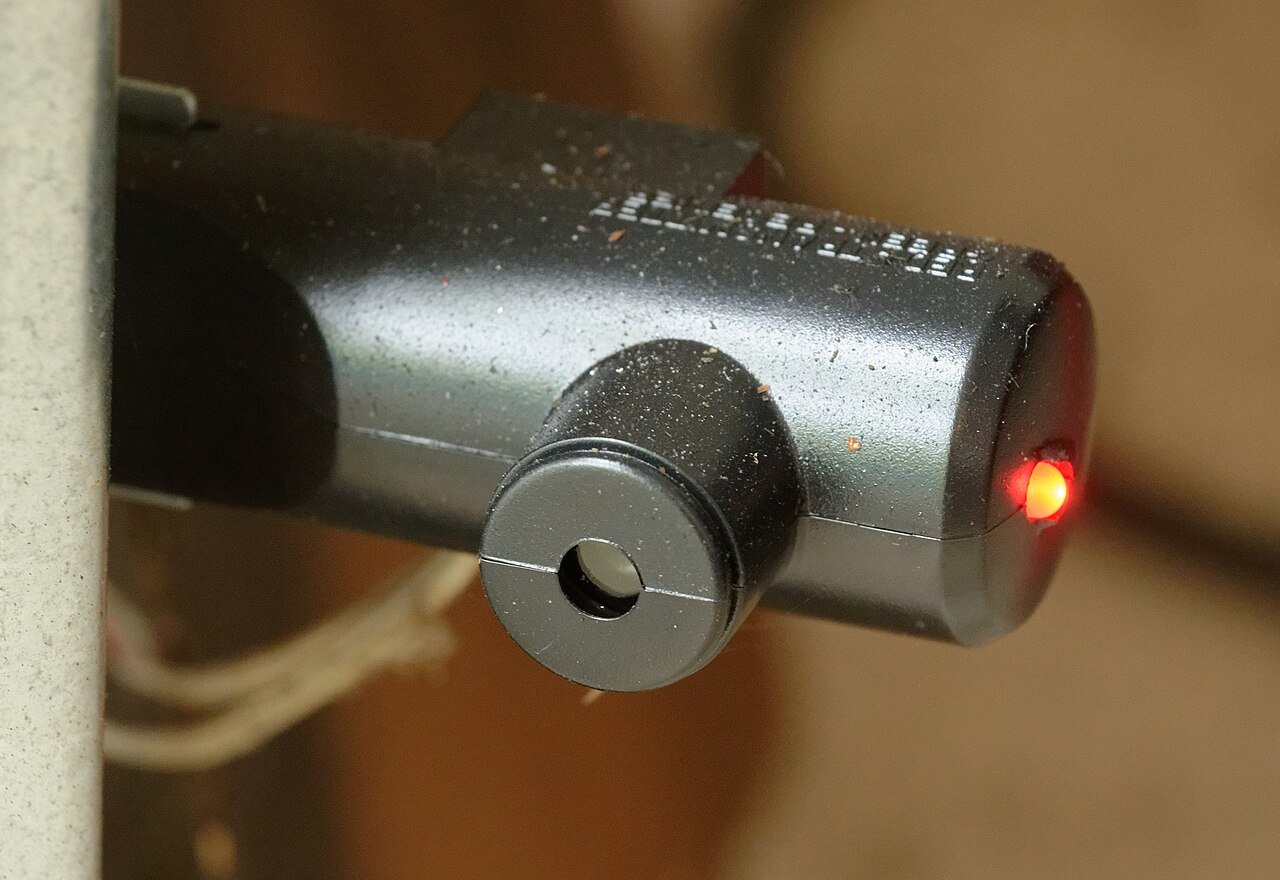
Mount the photo-eye safety sensors about 4 to 6 inches off the ground on each side of the door track, facing each other. These sensors stop the door from closing on an obstruction and are required by modern safety codes, so do not skip this step.
Step 7: Wire the Wall Console
Mount the wall-mounted control button inside the garage, within sight of the door, and at least five feet off the ground so small children cannot reach it. Run the bell wire from the console to the motor unit’s terminals.
Step 8: Power Up and Program
Plug in the opener, then program the remotes and keypad following the manufacturer’s instructions, usually by pressing a learn button on the motor unit and then the button on the remote within a short time window.
Step 9: Test and Adjust
Run the door through a few full open-and-close cycles. Check that the safety sensors stop the door correctly by placing an object in the door’s path. Adjust the travel limits and force settings if the door does not fully open or close, or if it struggles against resistance.
When to Call a Professional
If your garage door has a particularly heavy build, if you are replacing springs at the same time, or if the framing above your door is not straightforward to access, it may be worth paying for professional installation rather than risking injury from the spring system or an improperly mounted unit.